
A4000T Fix
Finally I had time to write down the things I did to fix my new Escom Amiga 4000T. It was quite a while ago since I bought it but time hasn’t been to put it into a blog. Anyway, the overall shape of the A4000T was quite good. The case was a bit scratchy and had lost it’s colors here and there.
The Re-Cap
The mainboard needed a re-cap job since some radial SMD capacitors had leaked around the keyboard connector and some on the audio/video module card.


A quick re-cap was made with the included cleaning of the corroded areas and also changing some near components that had been damaged.

The Paint Job
As I mentioned in another blog I decided to do a paint job. Due to the fact that it is a metal case, I wanted a paint job that would be long lasting. Such paint method is called powder coating and is very common for Amiga 3000D/T and 4000D/T.
Sadly I did not write down the Pantone code that they told me it was, but if you have a company that performs paint jobs near you can bring the case with you and they will help you with that. It was a pretty common color so it is not rocket science.
A Word Of Advice
Don’t forget to ask for the material that adds the “flake texture” that the case has. Else you will end up with a flat paint job (that still is nice but not accurate).
Before I shipped it for painting I removed all the stickers. This is a fairly easy job and with a quick search on Youtube you can find several instruction videos of how to do it. So how did I do it?
Easy! With a hair dryer and a spatel (usually used for cleaning ceramic stove top).
Before You Start...
- Do not use too much heat.
- Be patient.
- Be very gentle since the spatel can easily rip the stickers apart.
After I had removed all the stickers, even the stripes on top of the case I put them on a sheet of glass. If you don’t have that just use a window or so. Whatever you do, do NOT put them on paper!
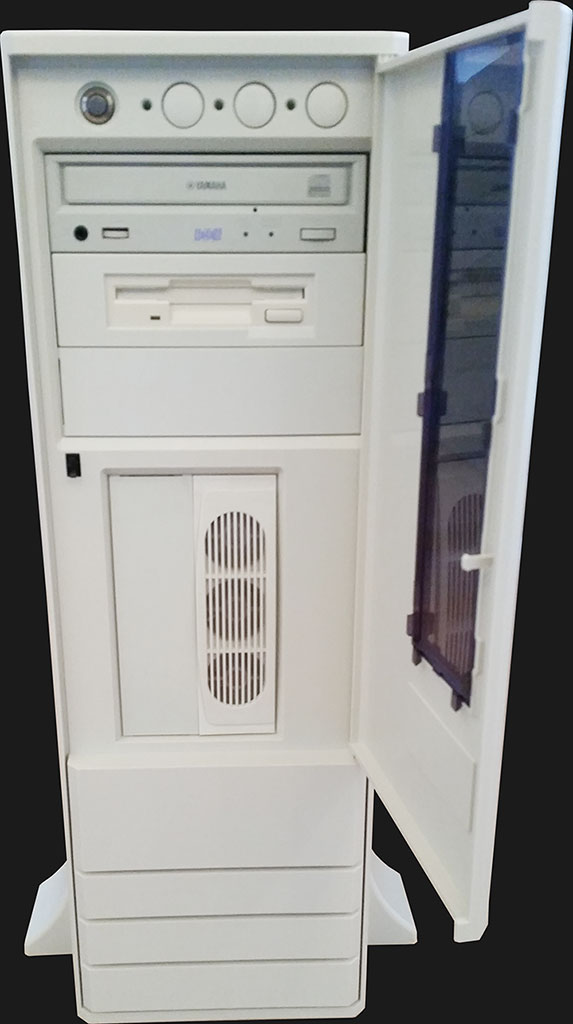
This is the case before I shipped it for painting.

The Re-Assembly
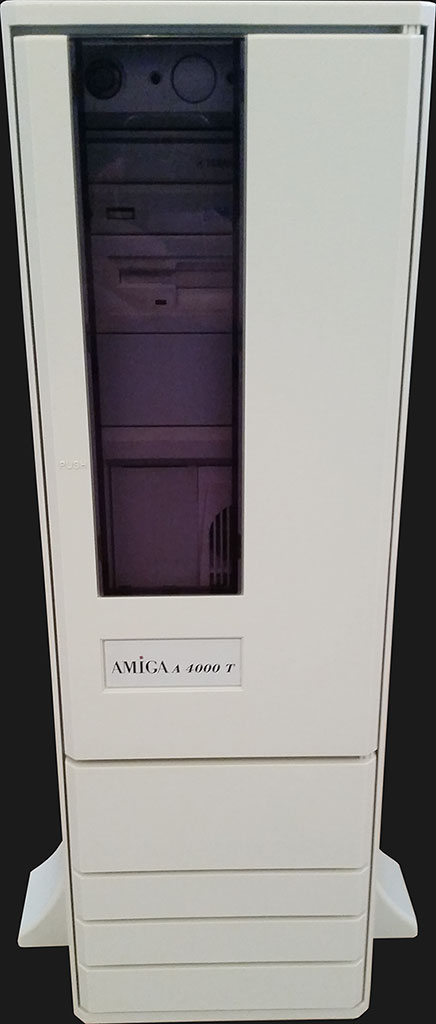
Yay! It is done and now I have to re-assemble the A4000T again. Sadly, the pictures I took are somehow lost so you have to see the end result in the bottom of the blog 🙂
I decided to sleeve most of the cables to get a cool look and still my OCD.

While I was at it I took some time to modify the Ratte Auto Monitor Switch (R.A.M.S) module from using two mechanical relays to just use a MAX319CPA+ (SPDT switch chip). You can read more about the first version of the R.A.M.S module here.

Burn Baby, Burn!
While putting together my Amiga 4000T I accidently switched the cables between I/O module card and he mainboard. This worked OK at a beginning, when I did not use any serial or parallel ports.
When I later on wanted to check the “Early Startup” and pushed both mouse buttons the Amiga just died. After some tests and diagnostic with Diag ROM’s I found that I had fried Paula, CIA-A and CIA-B chip.
HOLY SH*T!
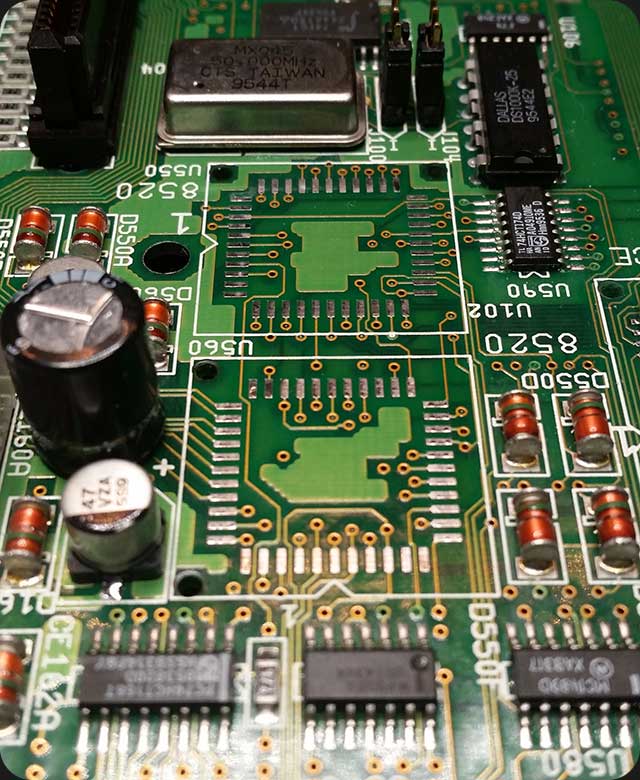
Well, off to work. Bought a set of new chips from GGS Data in Sweden and started to remove the old ones, replacing them with the new ones.
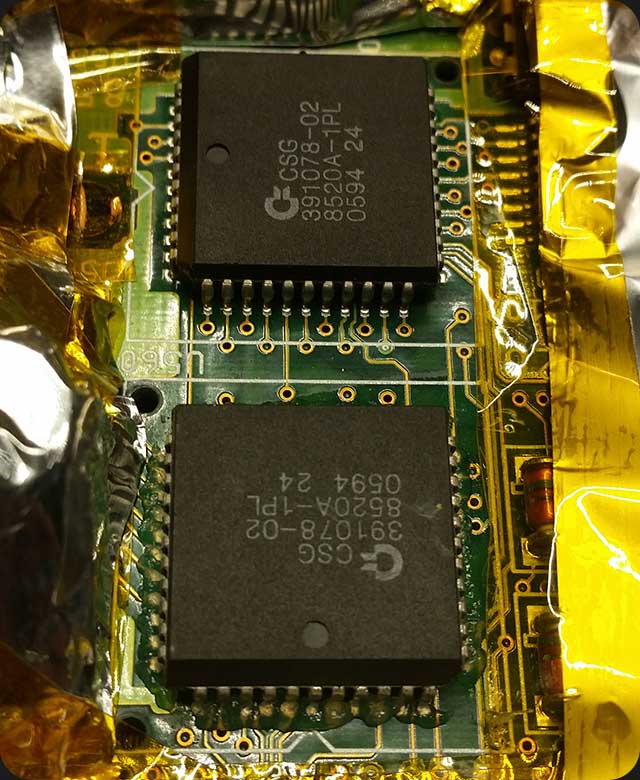
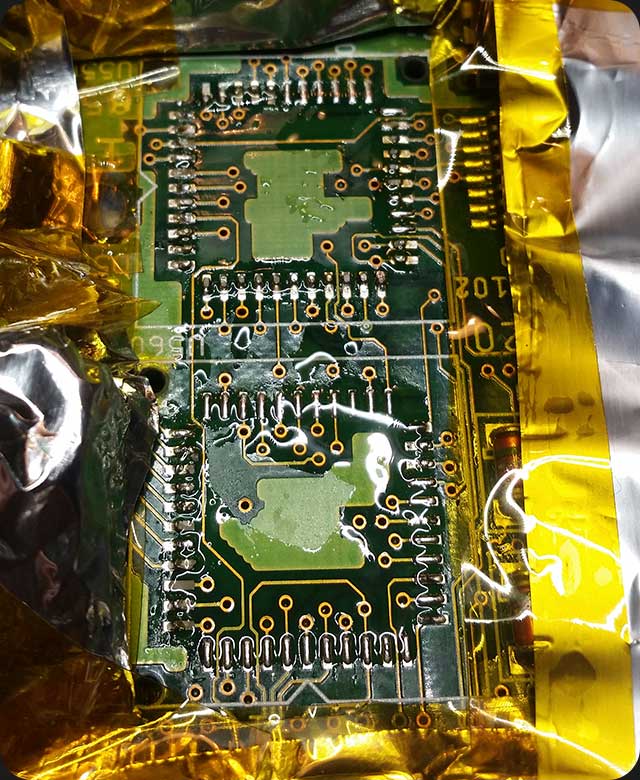
Replacing surface soldered PLCC chips such as Paula, Lisa, CIA-A or CIA-B isn’t that hard with the correct tools.In my case I’m using a hot air gun art 298 degrees Celcius with flux and protecting the surrounding areas with foil and Kapton tejp.
The tricky part with an Amiga 4000T is that both capacitors and PLCC chips are glued to the PCB. Even if it is a small amount of glue used, it is still harder to decide if the component you are trying to de-solder at loose or not.


After the faulty chips had been replaced my A4000T started and worked perfectly! *phew*


Help, I have a 1993 3000T which has sat unused since about 2000, and as I learned too late, a common issue is that the clock battery leaks and the acid runs down the motherboard, which of course sits vertically. I cleaned the board and replaced the battery carefully, but it still will not boot. It appears no chips were damaged but some of the traces probably were. Would it be better to have someone like you fix it, or just try to find a working motherboard. I really don’t want to junk it, as it is all maxed out with max RAM, second floppy, 2 additional hard drives internally, a Syquest drive in an external bay, and an Emplant board to run Mac software in real time not emulation(it uses a Mac ROM and also has a socket for a PC ROM as well). Your advice would be appreciated as to repair or where I might get a motherboard.
I would recommend to repair it for sure. There are several people around the world that is capable to repair it. Where do you live?
Just stumbled in on your blog. The end result of this machine is causing heavy drooling on my end… 🙂
Hi,
you wrote “This worked OK at a beginning, when I did not use any serial or parallel ports.” at your post. Haven’t you used any mouse or serial device before hitting both mouse buttons? I ran in a similar issue, but the mouse was connected, but no button was pressed at any time.
Was the board still booting with the normal boot roms after the issue? In my case the whole system is dead. I haven’t tried Diagrom yet, but is it able to power up a board, which has two failing chips?
My card died and both 82520PL (CIA) and Paula where stone dead (not cold). Neither Diagrom or Dialoga 2.0 worked on the A4000-T until I replaced the bad chips. So if you connect the I/O board the wrong way and not push any buttons I would say that the chance is high that the board is OK 🙂